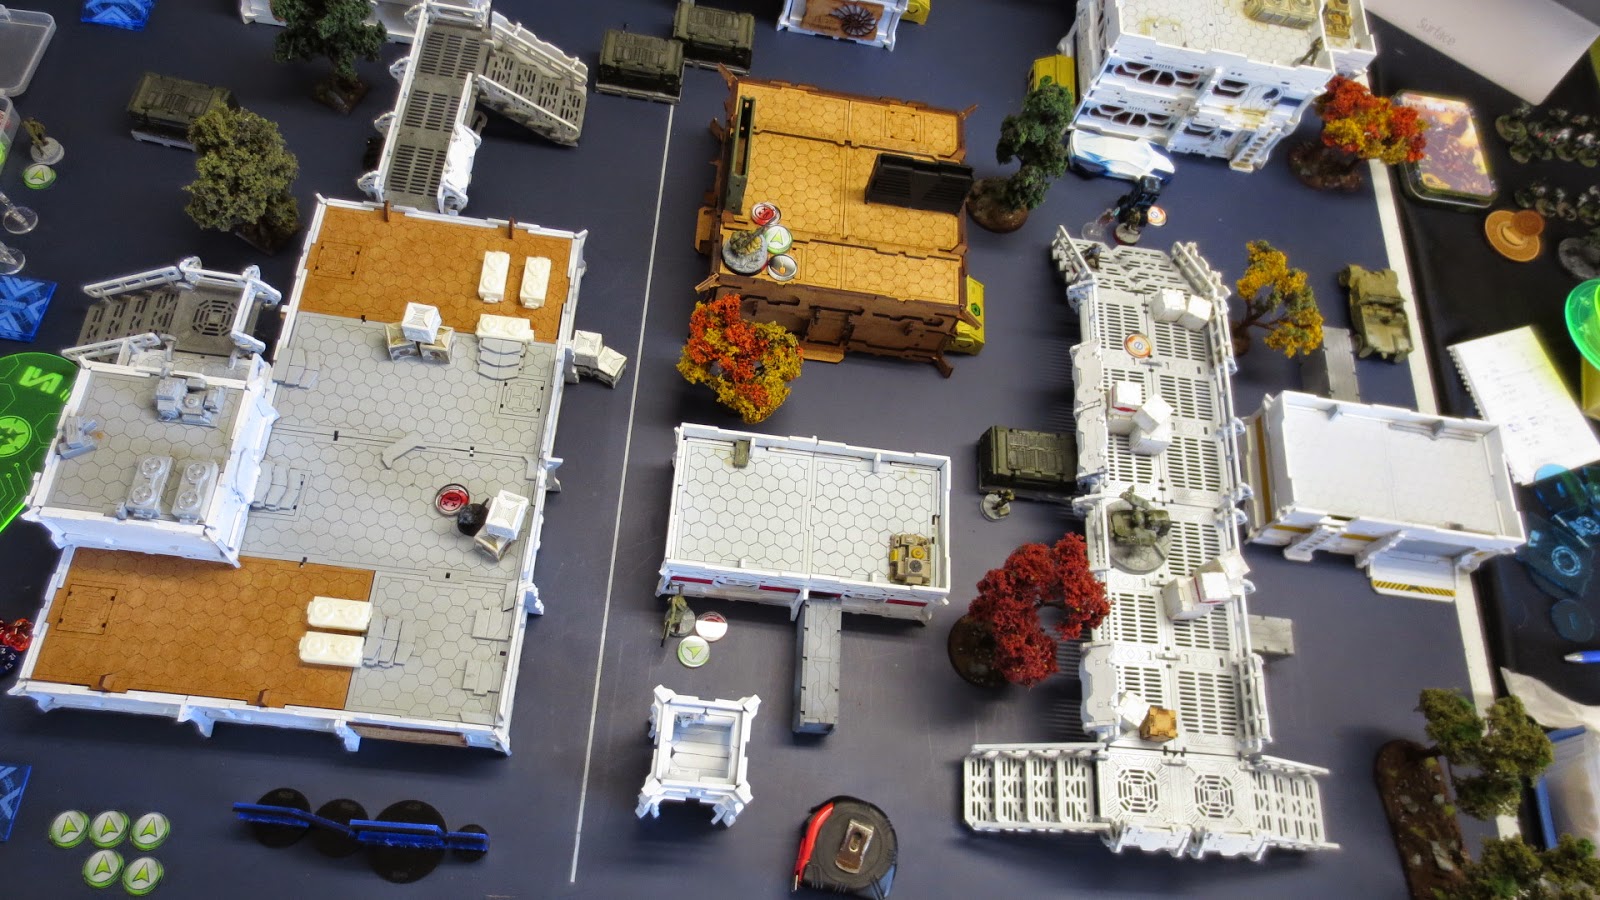
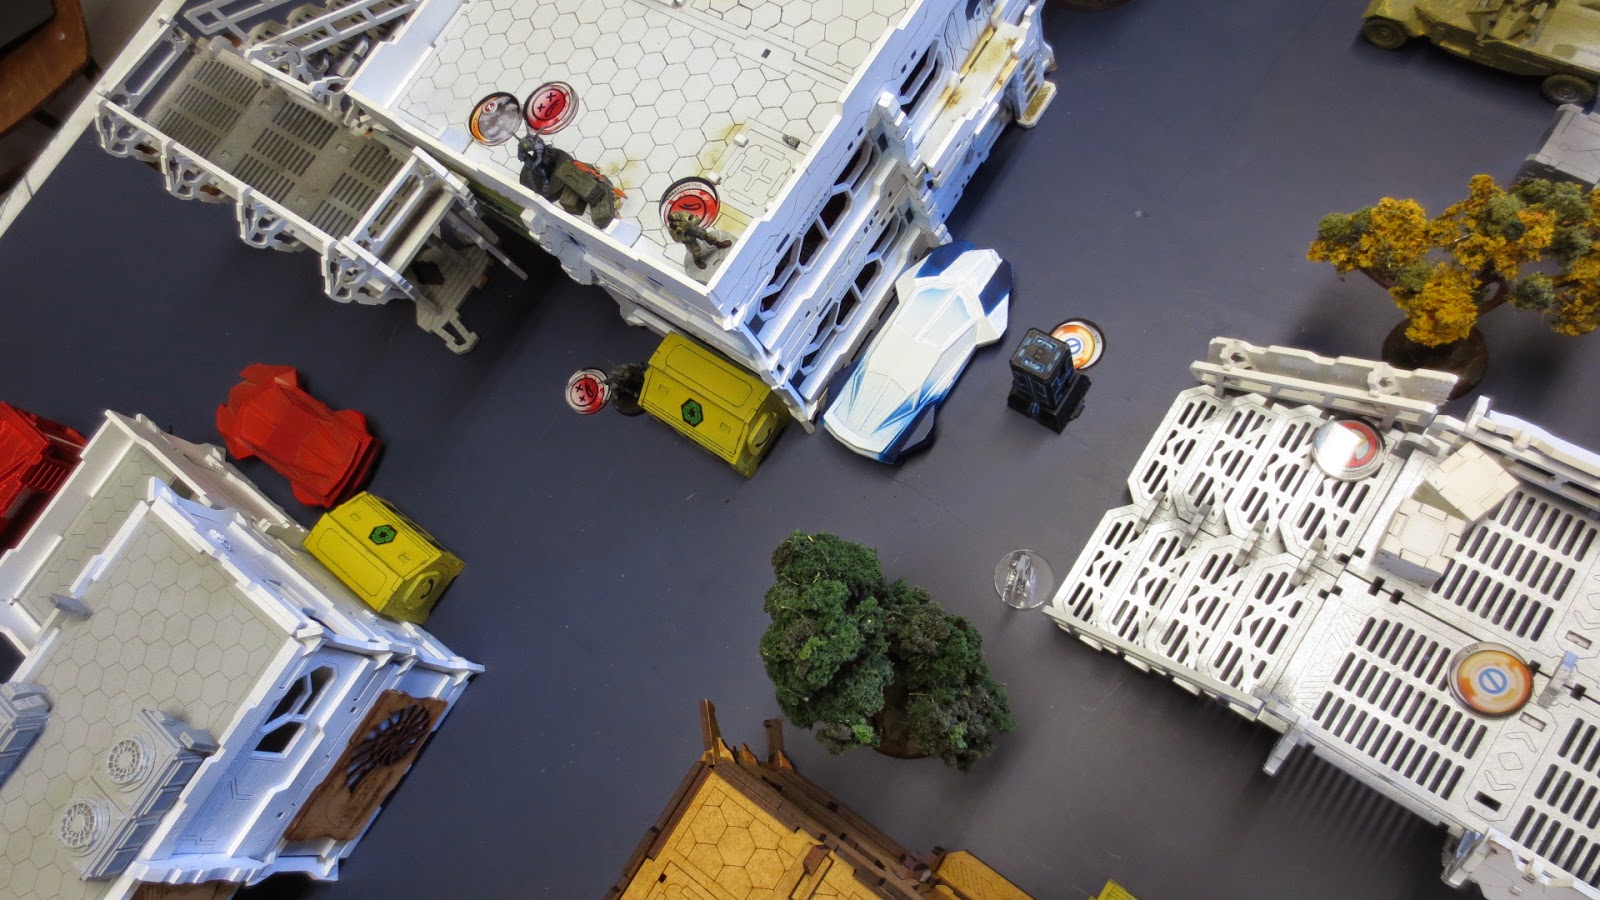
So, two week ago James (who works with Mark, and who I know through the infinity tournaments Garth runs) showed up for some games of Infinity. I obliged with a 300 point MRRF list that had all the trimmings.
Camo, camo, more camo, mech dep, and a hot dropping werewolf. All the fun toys.
So, this is the table, nice big buildings through the centre, diagonal lines of fire as we normally do, only small amounts of scatter.
My force:
4x Zouave (2 FO, 2 Sniper)
2x Chasseur (1 FO, 1 Minelayer)
2x Dozer (1 Mul Control, 1 Akrylat Kanone)
1x 112 (Doctor)
1x Uragan Mul
2x Metro (1 Rifle, 1 Inferior Infiltration)
1x Aguacile Hacker
Margot & Duroc
James's force
2x Netrods
Atalanta
Ajax
Eudoros
2 Myrmidons (Spitfire, Chain rifle)
Myrmidon Officer (Boarding Shotgun)
Agema (Missile)
Machaon (2 Yudbots)
My deployment
Here I deployed somewhat conservatively, putting the Zouaves and a mine forward, but holding everything else towards the back line. Having played Aleph myself, I know they're hard, and nowhere near as squishy as my boys will be.
Jame's Deployment
James also deployed conservatively, keeping his link team well out of LoF, along with hiding Ajax and Machaon. The Agema Missile is well placed though, and throughout the game was a real problem for me—though the same can be said of my Zouave snipers to James.
Having taken the initiative option, I take first turn, and knowing how incredibly dangerous Atalanta can be, I decide she has to die, regardless of the cost. Thus, my FO Zouave fires up his laser designator and marks her—and with the skill being B2 now—also tries to mark up Eudoros.
The link team and Atalanta fire back. Atalanta misses, even with BS17, and gets marked. The spitfire and other link members hit the Zouave, but he makes every save, earning the nickname of "the Iron Zouave".
A guided round from the Uragan kills Atalanta and her spotbot outright. One problem dealt with. Then, after an epic round of missing the side of a barn with every shot, the missile Agema and my central sniper Zouave end the duel with equal honours—they're both useless.
Duroc jumps on from the side (this should have happened before everything else, but in the end it changed nothing as he was in total cover when deploying). Margot deployed next to him.
Duroc made a run for the link team, firing as he passed, failing to hit and taking a wound (a critical from the shotgun actually) in the process. Stupid ODDs.
Not much happened in James's first turn that I can recall, barring his Agema managing to kill both my sniper Zouaves.
My turn opened in style, with Duroc leaping from the roof and firing both chain rifles into the assembled Myrmidons—hitting everything. Twice. They fired back with nanopulsers, resulting in one very dead werewolf—who was going to be dead anyway—and the death of the spitfire and chain myrmidon, and the wounding of Eudoros.
As Margot emerged smoke was thrown, but the roll fumbled as a grenade detonated against the yudbot in the midst of the link (that somehow survived Duroc's earlier barrage), killing Eudoros and wounding the myrmidon officer.
A large number of spec shots followed as spoke was deployed, but Margot finally got a lucky crit, ending the officer, and my turn.
James's turn 2 saw him just shy of retreat, and with Ajax gunning down my Lt and hacker. My turn 3 was spent doing little, but turning 4 orders regular helped get me some more damage, wounding Machaon with another critical spec-shot, and killing the Agema with a guided Uragan round. Ajax went on a little rampage for James's turn 3, but in the end it amounted to little—barely avoiding getting glued by the AK engineer.
This week I brought all my terrain—and realized I have a lot of
Infinity terrain. Possibly more than I… nah. We're back to playing at 150 points, but this week I would be playing Will's Acontecimento Shock Army—another sectorial.
This is the table (yes, I still have a lot left to paint, I know). In the middle, somewhat taller than single level buildings is the MAS objective room, which makes a nice centrepiece. I threw in my trees and walkways as well. The trees really make quite a difference to the overall look of the city.
I also used a bit more scatter this time, and small-medium sized pieces like the shipping containers and cars, along with my LoF blocker pieces and some bandua waster bins.
In something of a deviation from normal, I set the table up with straight lines of fire—blocking any DZ to DZ lanes, but trying to keep the layout interesting. I think it worked.
I won the WIP roll off, and elected to take deployment, forcing Will to deploy first. He took initiative, but gave me first turn—this might seem odd, but we were playing Supremacy, which scores after the second player turn each round, so going second is actually an advantage here to rush the zones.
I put everything as close to the consoles as I possibly could, including a mine next to the northeast console (and I figured that camo marker was will doing the same, and if not, bang!).
Will's deployment put his Regular link in the building (keeping them on the roof for ease of play), his Bagh-Mari sniper on the opposite roof, and everything else well hidden.
Bonjour, mon ami…
It was my pleasure to kill you.
Top of turn 1 my inferior infiltration metro decloaks and knocks the Bagh Mari sniper out with a critical. Excellent work. He then ducks over the edge, discovers and destroys the camo-marker—it was a mine.
My FO Zouave on the right fails twice to access his console.
So, the Zouave on the left shows him how it's done, leaping through the window, kicking in the back panel and crossing the wires.
Hacking. Ariadna style. Having been shown how to do things, the guy on the right finally manages to get it done with my last order.
Will's turn opens in deadly fashion, his Bulleteer killing the left Zouave. Then the sniper Zouave
The regular doctor, her way now clear, barrels out the door and steals the northwest console for the ASA.
Next, an Akal Commando drops in, just out of my doctor's LoF—and also just barely outside his ZoC. this is not going to end well.
It doesn't, the Akal killing the doctor with his boarding shotgun. The Dozer nearby, hearing the shots, wisely ducks around the corner and out of LoF to the Akal.
At the end of the round I hold 2 Quadrants to Will's 1, gaining me 2 objective points.
The Akal's comeuppance is swift—after a risky missed shot and a lucky save form the Uragan, the Chasseur drops camo, lines up his rifle, and takes the shot, the Akal failing his dodge.
The sole surviving Zouave moves up and takes the northeast console, once again managing it only on my last order… again.
Will's Bulleteer advances, then the Regular doctor climbs through the window of the southwest building, interfacing with the console. It will now be contested and must be won via a face to face WIP roll at the end of the game.
The Bulleteer then moves up and attacks the Dozer and the Mul, managing to kill the Mul, but the Dozer is saved by his armour and the cover of the nearby crate.
At the end of this round we hold 2 Quadrants each, for 1 objective point each.
My turn 3 (the last turn of the game in ITS style scenarios) opens with a co-ordinated order targeting the Bulleteer. The Dozer spearheads with his rifle—to which the Bulleteer fires back—then the Zouave fires his DEP as the Chasseur lights up the bot with his flamer.
Napalm covers the Bulleteer, searing away its ODD and seizing its joints and controls. Nothing is left but a pile of fused metal blasted into scrap by the DEP.
Having a spare order I decide that re-camoing the Chasseur about now is probably a very smart idea.
Then I have a not so smart idea to try taking a long range potshot with the Metro on the roof, at the regulars hiding next to the northwest console. I don't hit, and they fail to as well.
That's me done.
Will starts by coordinating his regulars and a Bagh Mari, shooting up the Metro on the roof, who now fails to dodge.
Will moves out with his Bagh Mari(?) hacker and kills my Zouave—but takes a mine to the face for his troubles, falling dead instantly. Yay for minelayer!
Will moves up a Bagh Mari and moves a Regular out to the northwest Quadrant.
At the and of the round Will holds 2 Quadrants and contests 1, while I only hold, meaning Will gets 2 objective points.
We're all tied up on objective points now (probably VPs too, but we didn't calculate those), and it's down to the consoles.
I hold 2 consoles, uncontested. Will holds 1, uncontested. The final console is contested, and would give me the win, or him the draw. We both have only a single specialist alive. We roll our dice.
…and both fail by a horrendous margin. We re-roll. Will gets a 7. Respectable against his WIP of 12. I get a 10, success. I therefore have the final console, and thus, victory, by 2 objective points.
Breaking it down, I'm not sure I would have done much differently… maybe deployed the Zouave sniper away from the edge (he was prone/foxholed) so the Bulleteer couldn't see him. And maybe put the guy with the flamer closer to the bastardized robot with the ODD.
I don't think there was much else Will could have done differently either. We both played a pretty tight game, and it came down to that final objective. I love the tension in games like that. I know I got lucky with my inf. inf. Metro, and that put a crimp in Will's plans—but the Metro only works less than half the time, so it was luck—which was why the Zouave sniper was also set up to cover the Bagh Mari sniper.
I think the only thing that really let Will down was his lack of specialists. Knowing I'll be playing ITS—and liking having specialists for the combat functions—I tend to be specialist heavy in my lists, at the expense of some combat effectiveness. Will only had 2—and Pan O's less than stellar average WIP didn't help either, but he definitely managed to outshoot me in any fair fight.
But playing Ariadna, if he's getting a fair fight, something's gone very wrong…


 Ignoring the officer as a losing game for now, I go back for objectives, taking the first data pack from the left hand console with my Proxy mk 5.


 Said push comes courtesy of my slow moving—but still useful, and more surprisingly, still alive—EVO bot. Which runs, climbs the main building, and downloads the final data pack from the central console.