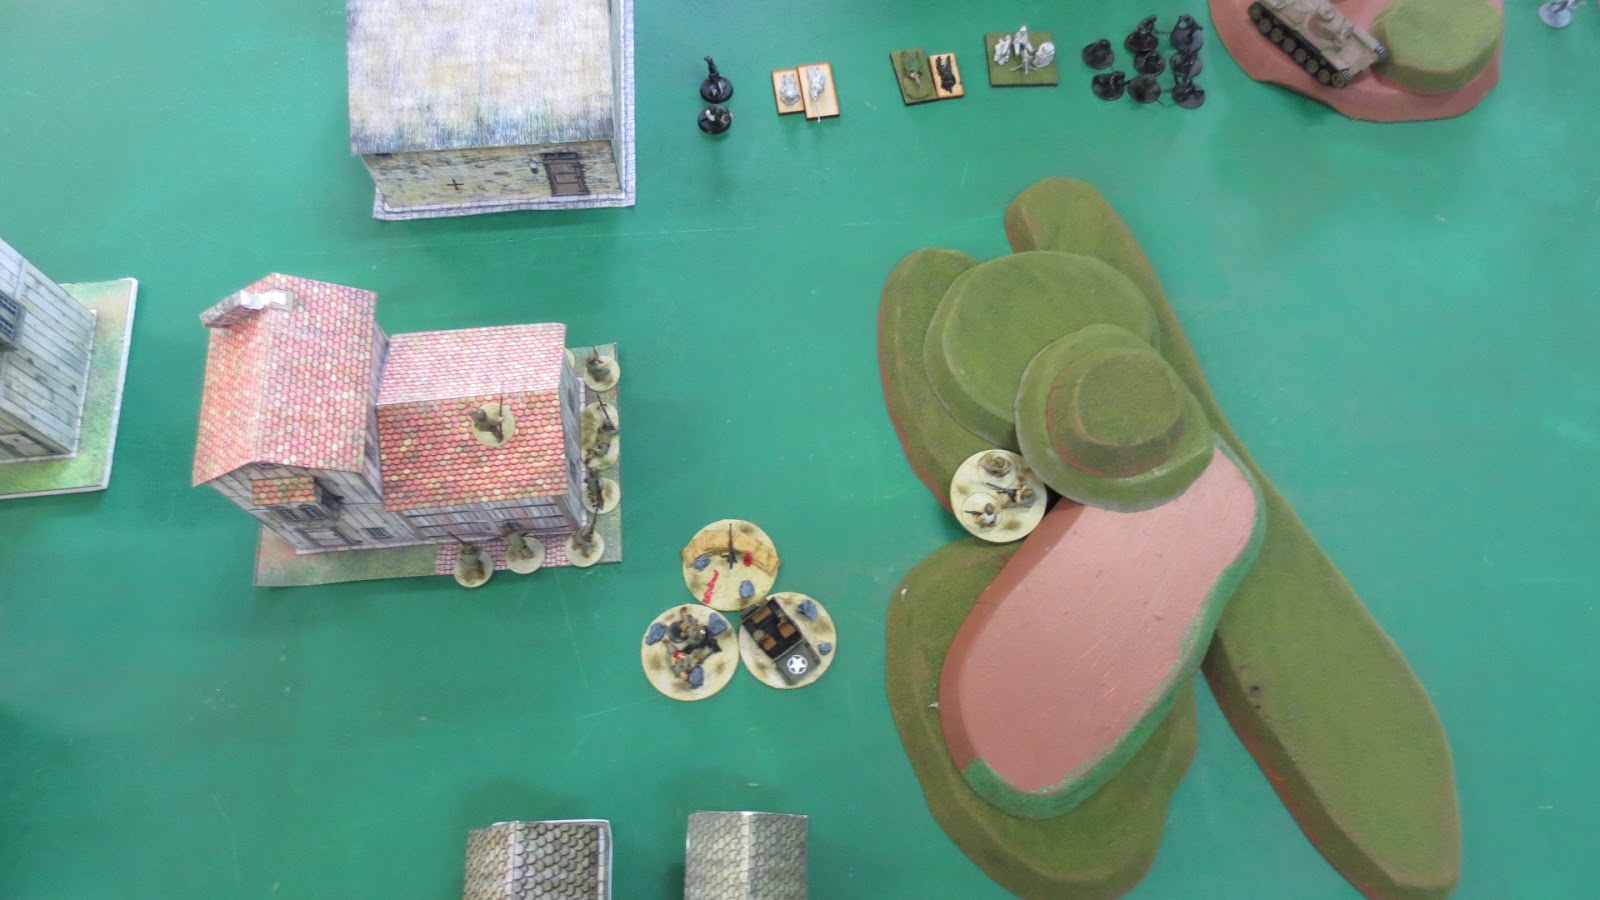
Round 2 against Noel's IJA. I took more pictures this time. A lot more. Basically because there was a lot more action. The missions was Hold Until Relieved, and Noel chose to attack. My objective was once more my marker cluster, with an MMG and infantry squad deployed to hold it.
Noel started strong, with a huge 15 man veteran unit deploying on one hill (which this game we were calling rough due to its steepness, along with all other hills). Around this core of veterans were arrayed a large number of other nasties, including 3 light mortars, a light howitzer, an officer, a sniper, and a small unit of IJA regulars.
The mortars start the game by dropping smoke, with every round going hilariously off target.
The howitzer lays a pie-plate of smoke, effectively blocking LoS to everything from everything in Noel's army. This will come back to bite both of us in the ass later.
The "Navy Brat" M3A1 Stuart rumbles onto the board, crashes its way through the forest, and in an unlikely display of marksmanship (possibly making up for not killing anything last game) promptly puts several MMG rounds through the veteran IJA officer. This begins an interesting trend…
Here the squad defending the building rushes forward through the smoke and obliterates the MMG on the corner of the building in a withering hail of fire.
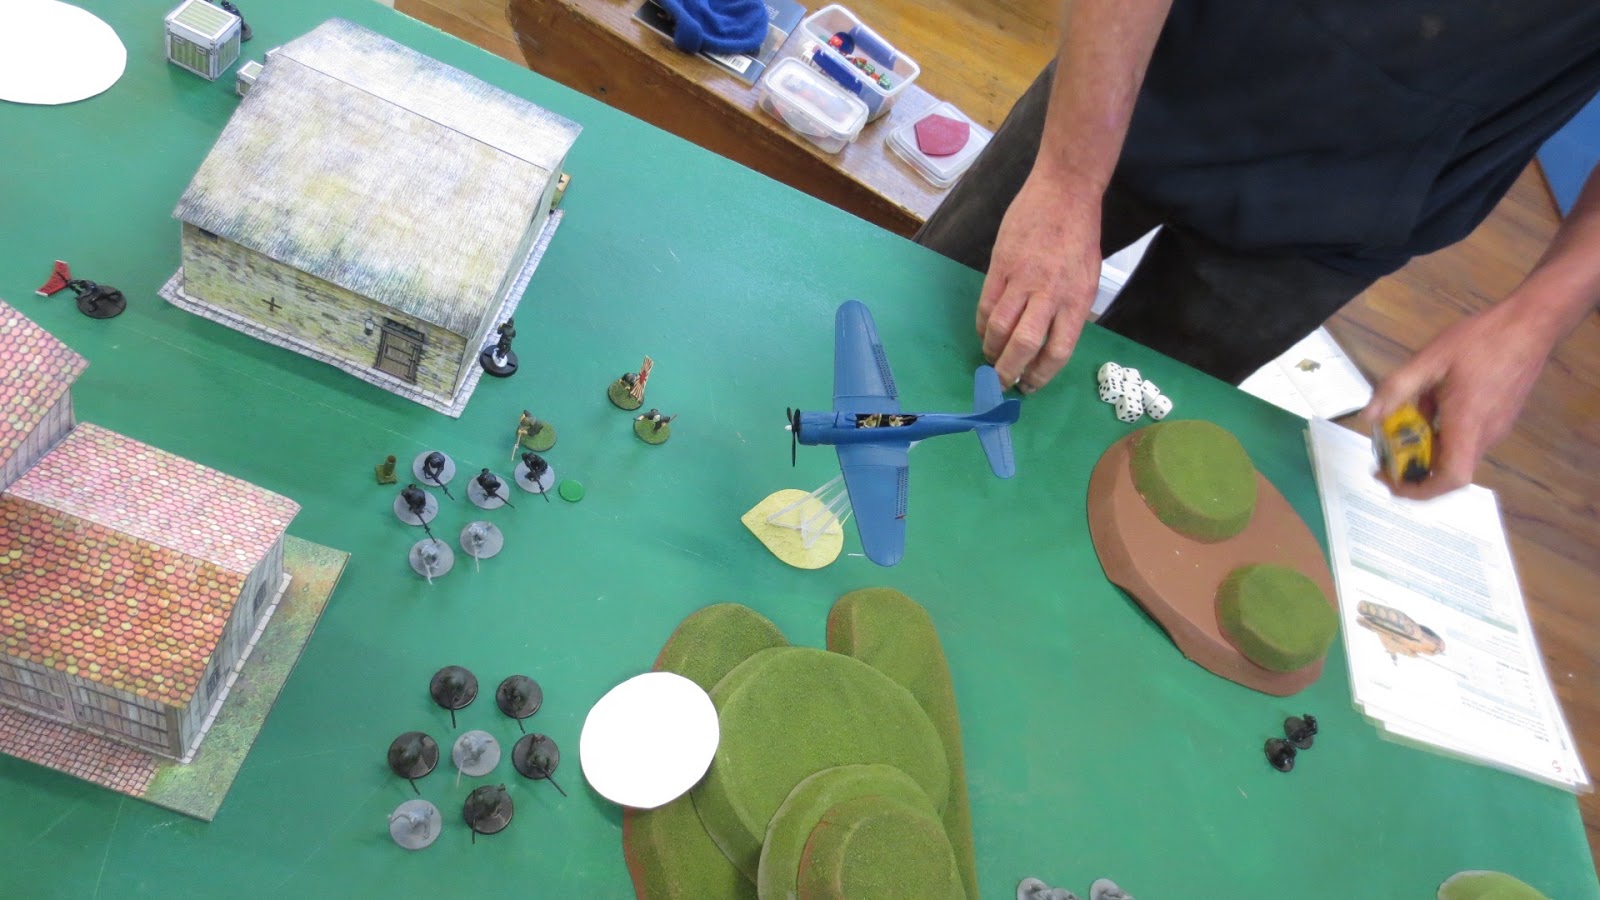
Turn 2 sees my first airstrike come roaring in, scoring fifteen hits at +4 PEN at which Noel wisely decides to go Down against, halving it to a more manageable 7.
One 500 lb bomb later and seven IJA veterans are rather less threatening for being spread across several dozen feet of landscape.
The team that gunned down the MMG rush forward and take out the sniper's assistant.
And then are promptly assaulted by the light mortar team and wiped out to a man.
Bollocks. I had hoped they'd put up more of a fight.
An IJA regular squad arrives from reserve and promptly has its officer shot out from under it. Remember that theme I spoke of earlier?
Everything I have left in reserve rushes onto the board. We need to keep that central objective out of Japanese hands.
Everything on the Japanese side also arrives, including the tank. The "Navy Brat" has maneuvered over the hilltops behind smoke to await getting a better shot.
Turn 3 starts with another strafing run on the IJA veteran squad, scoring 14 hits, reduced by the down to 7. How wish they'd been inside a building at this point…
Thus, 7 more IJA veterans are killed by the strafing run, leaving one man who gives exactly zero fucks about all the aircraft overhead and decides that staying around will let him stick
someone with his bayonet.
The FAC, his job calling planes done, advances over the crest of the hill, and with a strong of sixes, you guessed it, takes out the IJA regulars' officer. That's now three Japanese NCO's down, and one left to go.
The mortar, firing with direct line of sight, pulls off a hail mary against the lone surviving IJA veteran, getting five hits (down to two), and finally killing off the big scary squad of doom[TM].
On the left flank squad 3 moves up and pours fire into IJA regulars there, reducing the squad to just 2 men. Not a morale test though, because Japanese are Fanatics.
The light mortar team attempts another assault, but difficult terrain slows them just enough that they fail to reach the sole surviving MMG crewman, his friends shot up by the Chi Ha previously.
The "Navy Brat" takes a shot at the Chi Ha, but predictably misses at this range. The bazooka team also moves up, but again misses, blowing a large chunk out of the wall behind the tank and making the tank driver rather nervous.
End of turn 3. I've lost one full squad (centre left of the picture there), and Noel's lost his big veteran squad and various attritional casualties elsewhere.
Focus on the middle, with all the marine fireteams pushing up to keep the objective secure.
Turn 4 starts with Noel assaulting the MMG survivor, predictably killing him where he stands.
Being marked for an airstrike the "Navy Brat" rumbles forward at full speed, and even at point blank manages to miss the Chi Ha right in front of it. Maybe I should spend the extra points on making it veteran for that gyro-stabilizer.
Squad 3 assaults the Japanese sniper, clearing the building right of centre, while the engineers advance through the building left of centre.
The IJA regular squad assaults and kills my FAC team, but, having ensured the destruction of over 200 points worth of IJA veterans, the trade is felt worthwhile for the 85 points they cost.
Turn 4 ends with complete control of the centre by the US Marines, and an increasingly tenuous position held by the IJA.
Made even better when, for the second time that day, I get to hijack an airstrike. After a little vacillation between trying to murderize the mortar squad, I decide the Chi Ha really is the better target, and a cannon run begins, immobilizing the beast.
However, the "Navy Brat" pushed forward too aggressively last turn and falls to a suicide bomber. Well now I'm left with exactly
one thing that can kill a tank (discounting the horribly outranged flamer).
At which point said thing steps up to the plate, fires, and hits its mark square in the side, punching through the fuel tanks and engine block, knocking the Chi Ha out for good this time.
Having had their NCO picked off by the sniper at the end of the last turn, the light mortar teams weather a storm of fire from the engineer team and squad 3. "Toasty Jones" and his handy flamer is unfortunately out of reach, and so misses automatically. Adding insult to injury he also forgot to pack any petrol for this fight, so he's gone.
The medic's corpsman assistant takes a carbine shot at the IJA regulars, but fails to wound. Still a pin though.
Turn 5 closes as the depleted mortar team tries to make a banzai charge, but is cut down by squad 2, waiting in ambush behind the vital objective.
The final act of the IJA is to a put a light howitzer round directly into the engineer team, cutting down three of them.
That does it for the end of turn 5, and the IJA are looking seriously depleted, having only 1 unit now capable of even contesting the game.
Turn 6 opens with the light howitzer firing at the engineers again and killing two of them. The engineers give zero fucks about this, and advance menacingly, their rounds pattering like rain from the howitzer's gun shield.
A lone man (the IJA FAC I think) tries to assault the medic. His buddy, armed with only a carbine, drops the threat with a single shot. Well done. The medic team then advances, luring in the other IJA squad but failing to inflict any damage on it. They are promptly assaulted and wiped out for their troubles.
This leads to a vicious counter-assault from squad 2, the Japanese fighting to the bitter until Private Walker gets the last word in with his bayonet. Thus ends the Japanese threat, and the game.
After six hard fought turns of battle, and a strong USMC counter-thrust through the middle of the sector, the objective remains strongly held by the Americans.